My hard drive suddenly shows up as RAW, and I can’t open any of my files. It has important photos, work documents, and backups that I really need to recover without making the drive worse. I’m looking for the safest RAW hard drive recovery steps, tools, or advice before I try anything risky.
The first time I saw a drive show up as RAW, I was sure it was done for. Turned out Windows was the confused one, not the disk. RAW usually means the file system is no longer readable to Windows, so your files sit there but the OS stops knowing how to map them.
I’ve run into this after a hard shutdown, a cable getting pulled mid-transfer, partition table damage, file system corruption, weak sectors, malware, and once on an aging external drive that had been acting flaky for weeks. A normal NTFS or exFAT volume can end up labeled RAW from any of those.
Before touching recovery tools, I’d split the problem into two buckets: file system trouble, or hardware trouble.
If the drive shows these signs, I’d usually try handling it myself:
- It appears in Disk Management without weird behavior.
- The size looks right.
- It stays connected the whole time.
- There’s no clicking, grinding, or other bad sounds.
If you’re seeing disconnects, random detection failures, ugly SMART values, or noise from the drive, I’d stop right there. I learned this one the hard way. More scans mean more stress, and on a dying drive tht matters. If the data matters, I’d skip experiments and go to a recovery lab.
When the hardware seems stable, I wouldn’t try to “repair” the RAW partition first. I’d pull the files off first, then deal with the partition later.
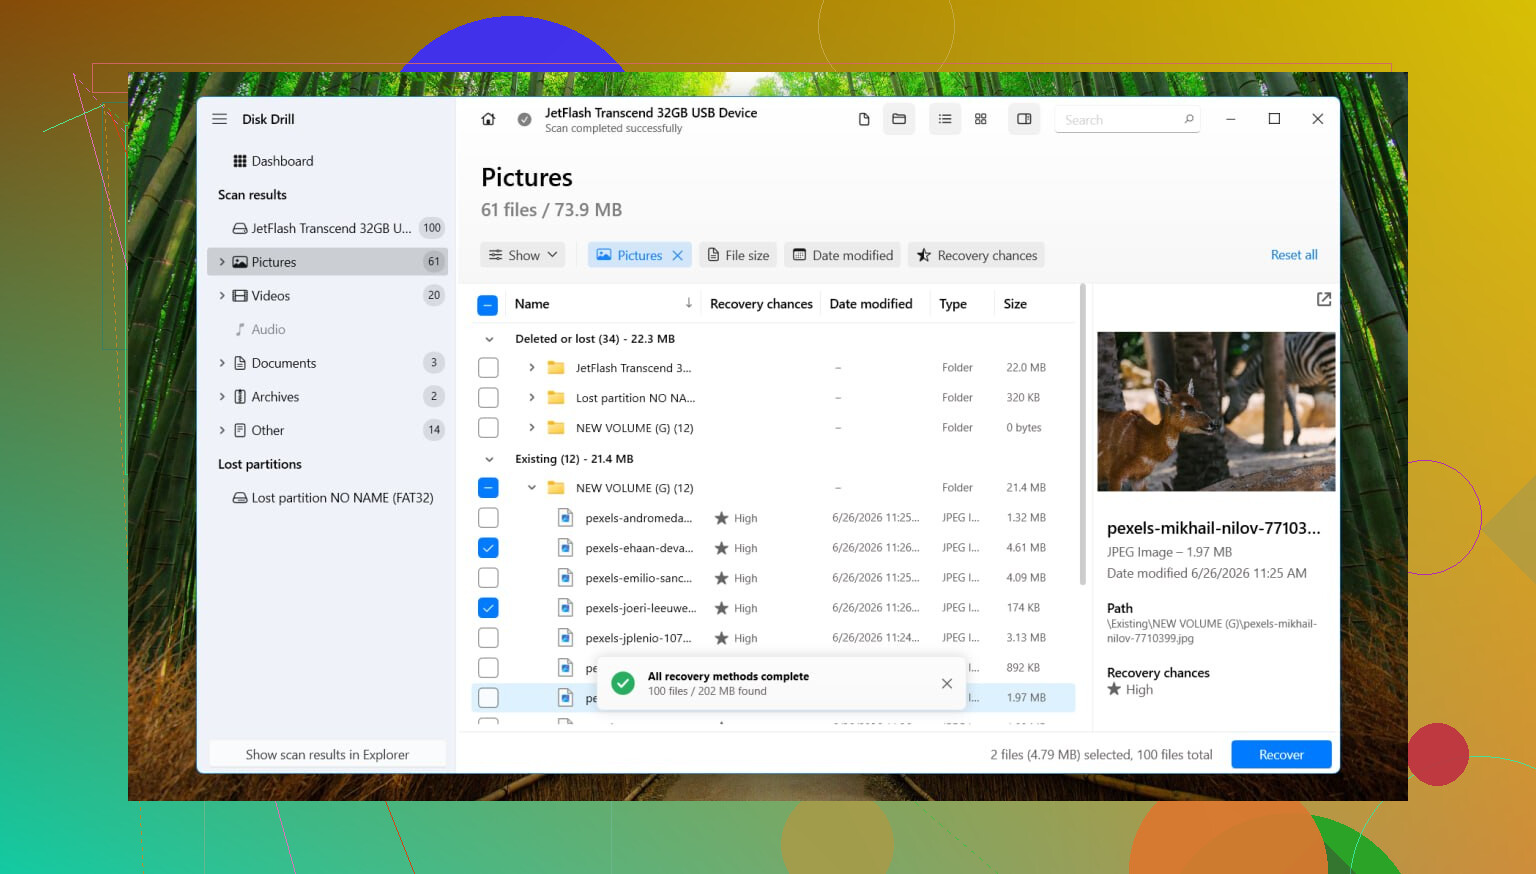
What worked best for me was Disk Drill. On RAW volumes, it usually starts by checking whether any original file system records are still readable. Sometimes enough metadata survives for a cleaner recovery. If not, it falls back to file signature scanning and searches the disk for known file types directly.
My usual process looks like this:
- Install Disk Drill on a different drive, never the RAW one.
- Pick the RAW disk or partition.
- Hit Search for Lost Data. On an external drive, use Universal Scan if it asks. For fragmented camera or drone video, Advanced Camera Recovery tends to do better.
- Let the scan finish, even if it feels slow.
- Preview files before restoring anything.
- Recover everything to another drive.
I wouldn’t touch repairs until I had checked the recovered files and opened a sample of the important ones. Photos, documents, videos, whatever matters most, test those first.
After the data is safe, then I’d try fixing the volume. If it was NTFS before it went RAW, CHKDSK sometimes repairs file system damage or boot sector issues. I still wouldn’t run it first, since it writes changes to the disk. If CHKDSK does nothing, or the partition was exFAT or something else, I’d move to TestDisk.
If neither tool brings the partition back, I wouldn’t keep poking at it forever. I’d recreate the partition in Disk Management, do a quick format, and copy the recovered files back onto it.
1 Like
First rule, stop using the drive. No scans, no repairs, no format prompt, no CHKDSK. Every write lowers your odds.
I agree with @mikeappsreviewer on one big point, recover files first. I disagree a bit on waiting too long to assess the disk itself. If this is an HDD, check SMART before a full scan. A quick read with CrystalDiskInfo takes under a minute. If you see reallocated sectors, pending sectors, or read errors climbing, clone the drive first and work from the clone. ddrescue is the safer route for weak disks.
Best safe order:
- Disconnect and reconnect with a new cable or enclosure if external.
- Check SMART health.
- If the drive is unstable, clone it sector by sector.
- If stable, scan read-only with Disk Drill.
- Recover to a different physical drive.
- Open a sample of your photos, docs, and videos to verify they arent corrupt.
Disk Drill is a solid pick for RAW drive recovery because it handles lost partitions and deep scans in one workflow, and the preview helps you avoid wasting hours restoring junk. Install it somewhere else, never on the RAW disk.
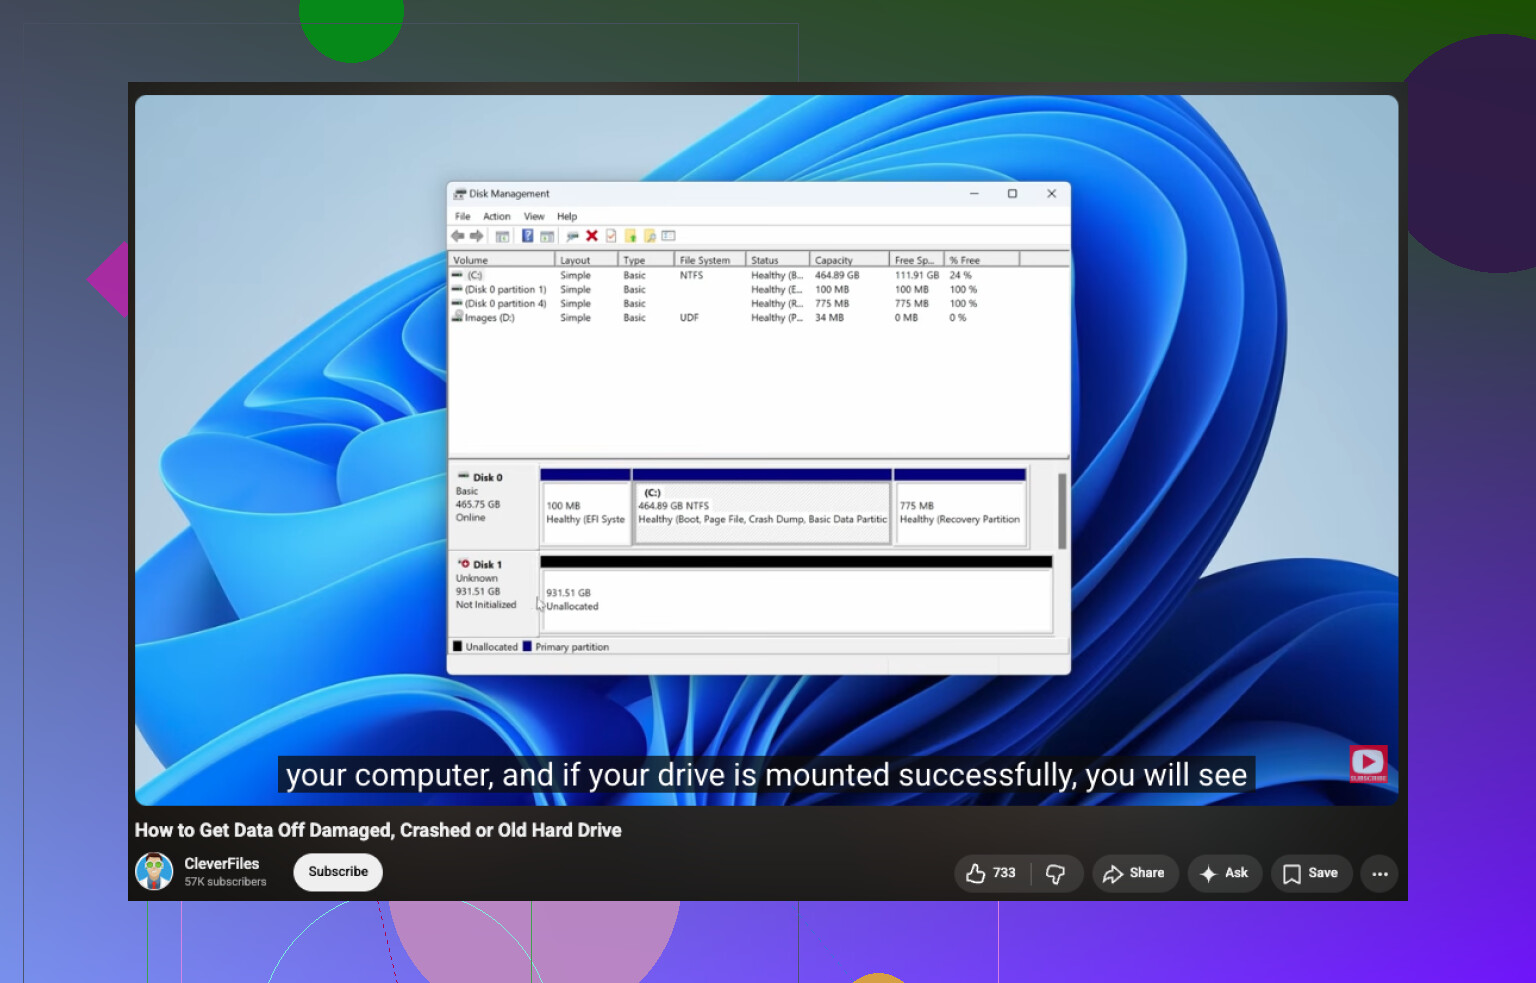
If you want a plain walkthrough on how to recover files from a RAW or corrupted hard drive, this vid is decent:
watch this RAW drive recovery walkthrough
If the drive clicks, disappears, or freezes your PC, stop. Lab time. No home fix beats a clean room when the hardware is failing. Thats the part people ignore, then regret later.
I’d add one thing to what @mikeappsreviewer and @himmelsjager said: if the files are truly irreplaceable, the safest move is to make an image of the drive before you do any logical recovery at all, not just a clone if SMART looks bad. A full byte-for-byte image to another healthy disk lets you retry different recovery methods later without hammering the original over and over. People skip this becuase it takes time, then regret it.
Also, slight disagreement with the usual “just scan it” advice. Even read-only scans are still heavy reads, and on a marginal HDD that can be enough to push it over the edge. So my order would be:
- Check if BIOS/UEFI sees the correct capacity.
- Try a different USB port, cable, or SATA adapter.
- Read SMART if possible.
- If the drive is slow, freezing, or throwing I/O errors, image it first.
- Run recovery against the image, not the original.
For software recovery, Disk Drill is still a solid choice for a RAW hard drive because it can scan the image file the same way it scans a physical disk. That’s a big safety win. I’d avoid “fixing” the RAW volume, rebuilding partitions, or letting Windows format anything until the data is already copied elsewhere.
One more practical point people forget: if your “backups” were stored on the same physical drive, they aren’t really backups. Brutal, but true.
If you want a simple visual guide, this is a decent RAW hard drive recovery walkthrough.
If the drive clicks, spins down, smells weird, or vanishes mid-read, stop messing with it. That’s not software territory anymore.