I removed the hard drive from an old Mac and connected it to another computer with a USB adapter, but I can’t access the files. I need help figuring out the safest way to recover data from the Mac hard drive without formatting it or losing anything.
Deleted files are often still recoverable, at least for a while. A delete or quick format usually removes the file system’s pointer to the data, but the actual data may still be sitting on the drive. The problem is that macOS, apps, and even normal background activity can write new data over those same blocks.
So the first move is simple: stop using that drive as much as possible.
If it’s an external drive, unplug it. If the missing files were on your Mac’s internal drive, keep activity to a minimum. Don’t install recovery tools onto that same drive, since the install itself could overwrite files you’re trying to get back. Browser cache, logs, swap files, app updates, and other background writes can all make recovery harder.
Start with the safest checks before running recovery scans. Look in the macOS Trash first. If the files were on an external volume, that drive may have its own hidden trash folder. Open the drive in Finder, press Shift + Command + Period to show hidden files, then check the .Trashes folder. If the files are there, use “Put Back” instead of copying things around manually.
After that, check Time Machine if you had it enabled. Go back to a snapshot from before the deletion, select the files you need, and restore them. A backup restore is usually much safer than scanning the original disk for deleted data.
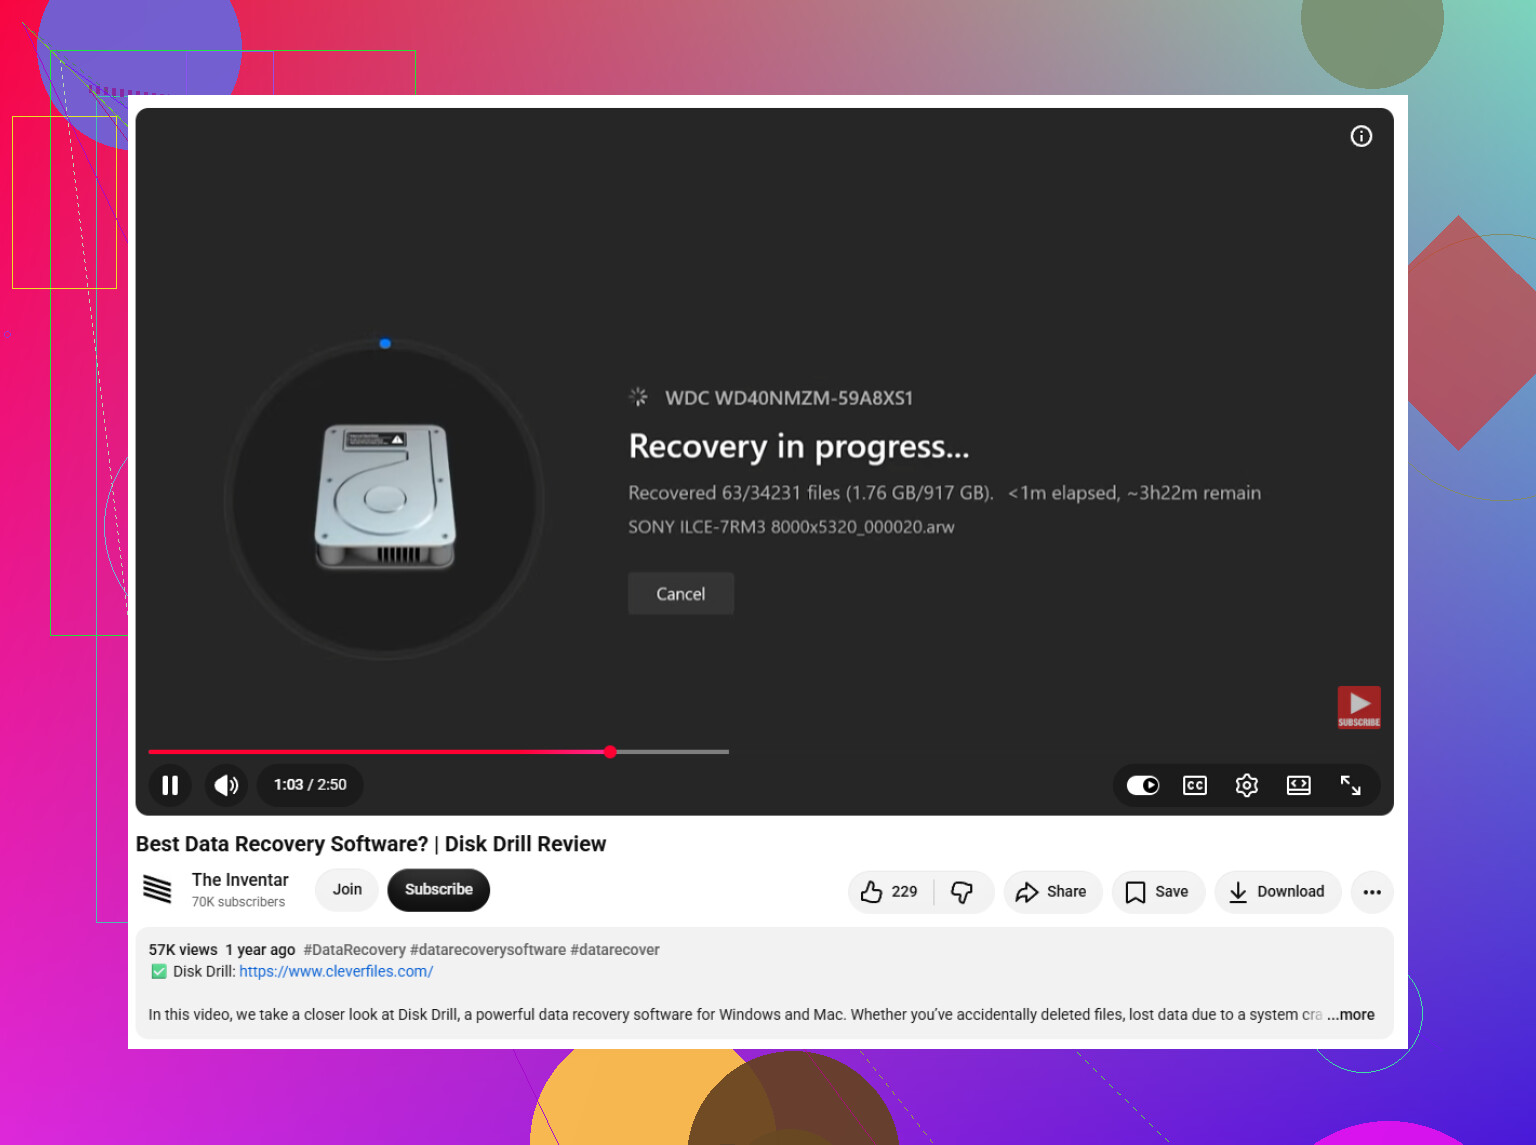
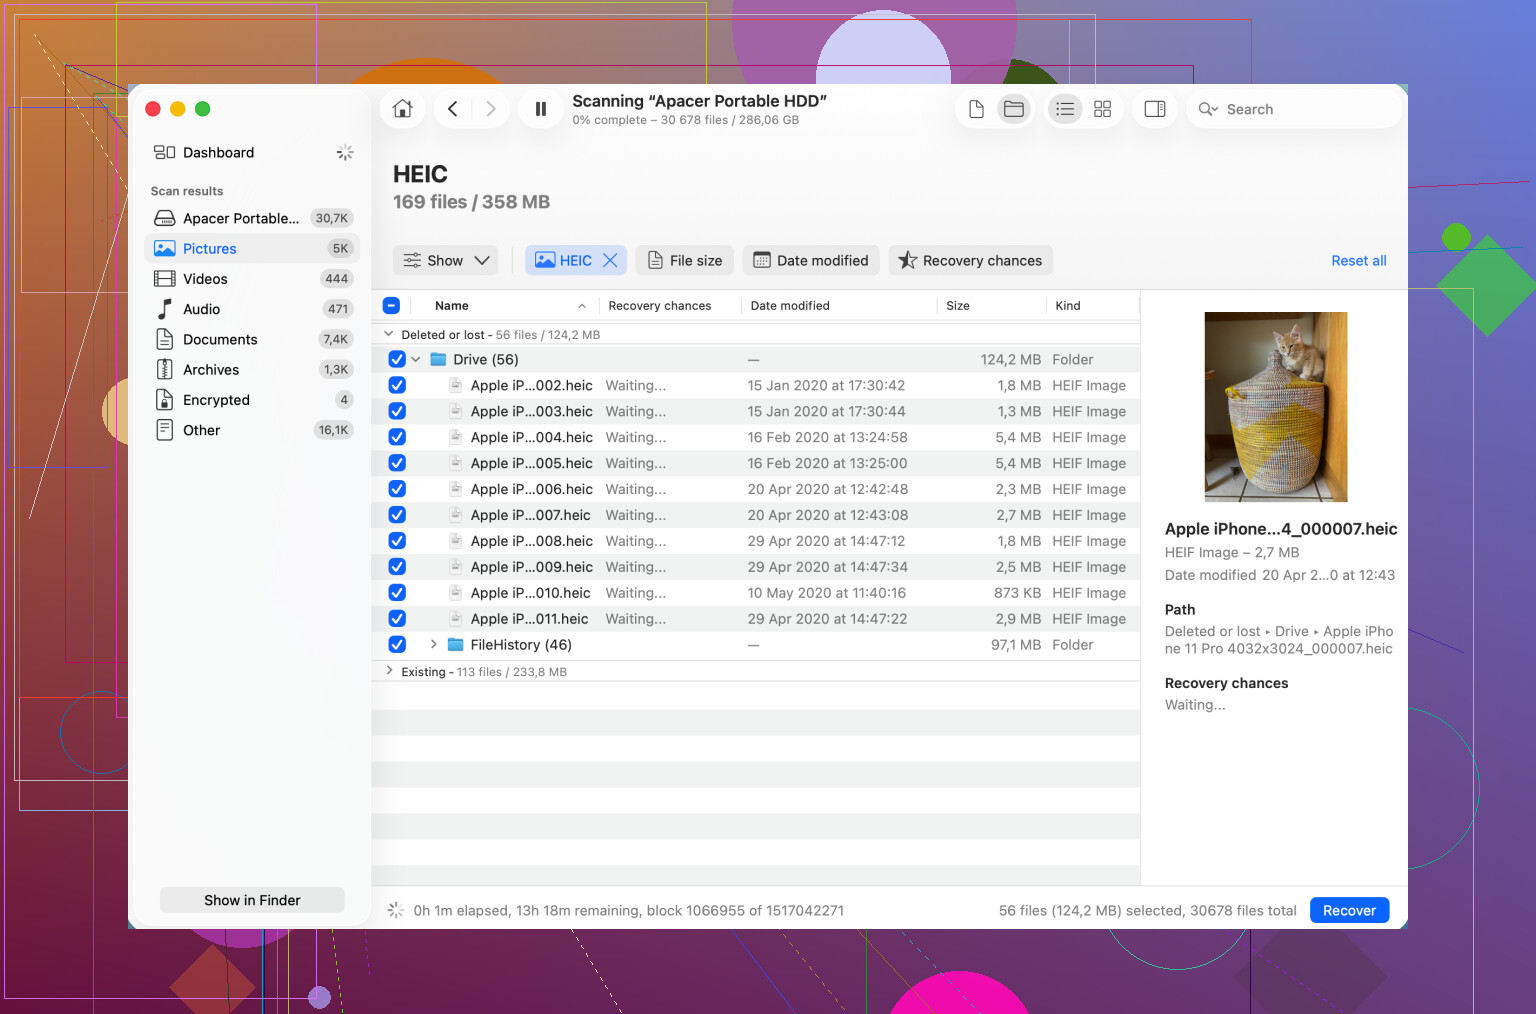
If there’s no usable backup, then it makes sense to try a recovery app. Something like Disk Drill can scan common Mac file systems like APFS and HFS+. These tools usually try two approaches: recovering file system records, and scanning the raw storage for recognizable file signatures.
The file system scan is better when it works, because it may preserve names, folders, paths, and metadata. A signature scan is more of a raw search. It can still find files after directory records are damaged, but you may end up with generic filenames and less folder structure.
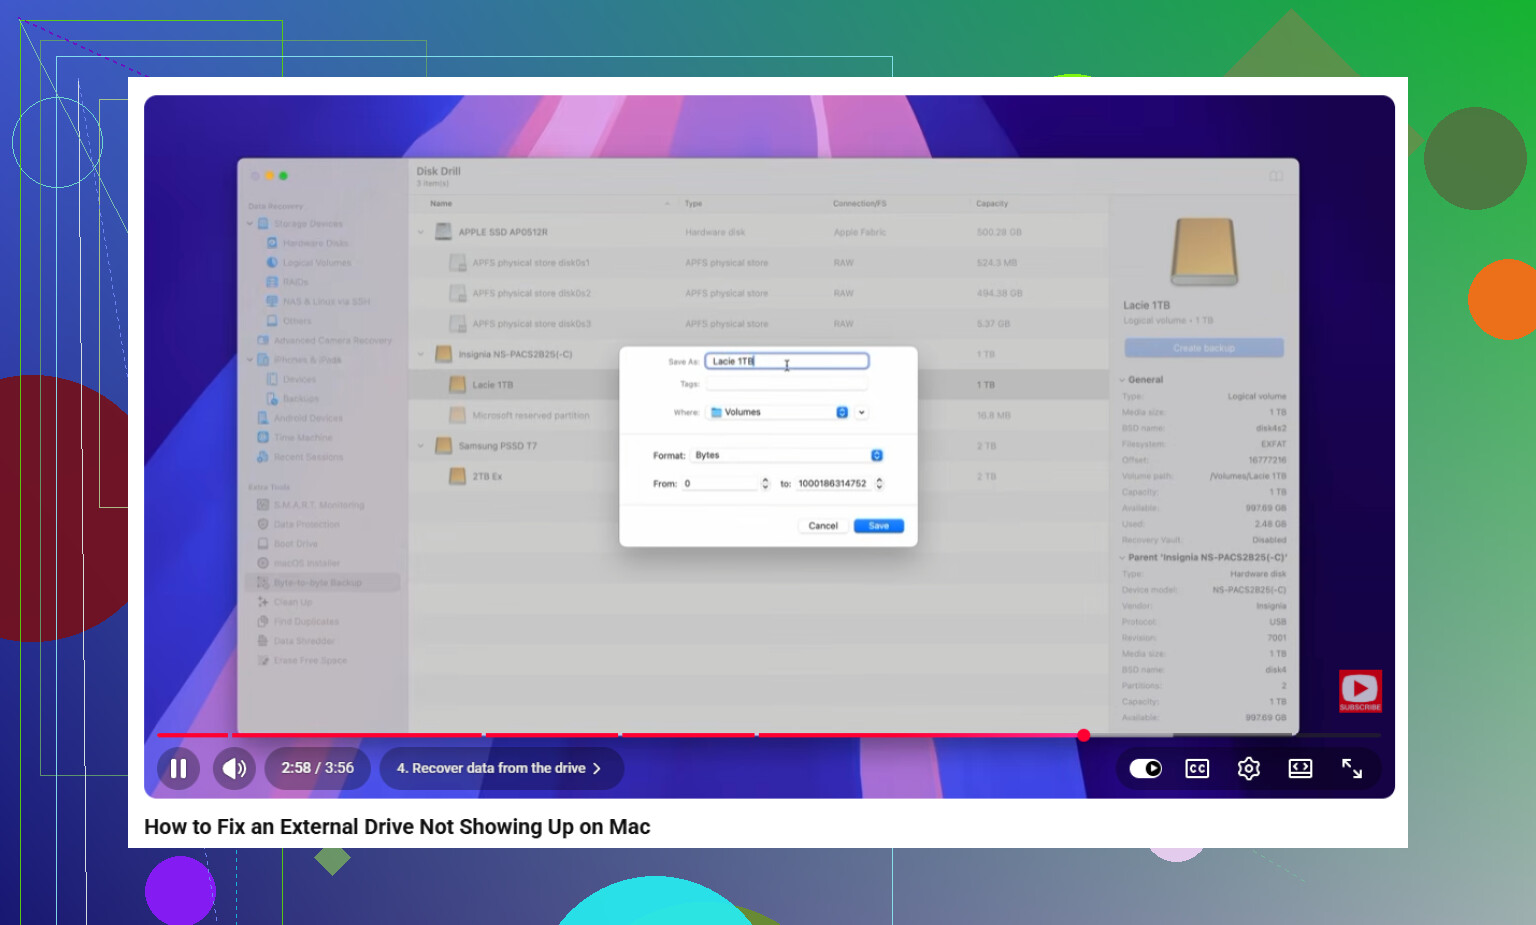
If the drive is acting unstable, don’t keep hammering it with scans. Slow reads, random disconnects, I/O errors, or a drive that only shows up sometimes can point to media damage or hardware failure. In that case, make a sector-by-sector or byte-for-byte image first, then scan the image instead of the original drive. That reduces stress on the failing hardware and gives you a stable copy to work from.
For mechanical warning signs, stop immediately. Clicking, grinding, repeated spin-up behavior, strange recalibration sounds, or abnormal motor behavior can mean damaged heads, platters, bearings, or other serious problems. Repeatedly powering it on or running long scans can make things worse. If the data is important, disconnect the drive and go to a professional clean-room recovery service.
Whatever you recover, save it somewhere else. Do not restore recovered files back onto the same source volume, because that can overwrite more recoverable data.
Once the files are recovered, set up a better backup routine. Time Machine is good for versioned local backups, but it’s worth pairing it with cloud or off-site storage so one stolen laptop, failed drive, or damaged room doesn’t take everything with it. Until then, leave the original drive alone, avoid extra writes, and work from the safest recovery option to the riskier ones.
1 Like
Do not click Initialize, Erase, or Format just because the computer says the disk is unreadable.
A missing piece here is what “can’t access” means. If you plugged the old Mac drive into a Windows PC, that may be completely normal. Windows usually won’t read HFS+ or APFS Mac volumes without extra software, and if the drive was FileVault encrypted you’ll need the Mac password or recovery key. In that case the safest simple move is to connect it to another Mac first, then check Disk Utility to see whether the physical drive appears. If it appears but the volume is greyed out, try mounting it read-only before doing anything else.
The USB adapter matters too. A 3.5-inch desktop hard drive needs its own power supply, not just USB power. Older Mac drives may be IDE/PATA instead of SATA, so the wrong adapter can make the drive look dead or flaky. If it spins up, shows in Disk Utility, but won’t mount, then recovery software like Disk Drill can be useful, but save anything recovered to a different disk. If the drive does not show up at all, disconnects, or makes bad noises, stop testing random adapters and consider imaging it or using a recovery shop if the files are worth money.
If that old Mac used a Fusion Drive, pulling only the hard drive may not give you a normal readable volume at all. That setup combined a small SSD and a larger hard drive into one logical volume, so the files may be spread across both devices. In that case, the USB adapter can be working perfectly and the drive can still look “broken” or incomplete because half of the storage set is missing.
That is the first thing I would check before spending hours scanning it. Look up the exact Mac model and year, or think back to whether the old Mac showed “Fusion Drive” in About This Mac. Some iMacs and Mac minis shipped that way. If it was a Fusion Drive, you usually need both the SSD and the hard drive connected to a Mac at the same time for the volume to assemble properly. Recovery from only one member can be messy and not something I’d treat like a normal external disk.
I agree with @yozora on not clicking Initialize or Format. I’d go a bit further and say don’t rush into First Aid either. First Aid can be useful, but it can also write repairs to the file system. If the data matters, make a copy/image first and experiment on that copy.
A practical order I’d use:
- Connect it to a Mac, not Windows, if possible.
- Use an adapter/enclosure with proper power, especially for a 3.5-inch drive.
- Open Disk Utility and choose View > Show All Devices.
- See whether the physical drive appears, even if the volume under it does not mount.
- If it appears, clone/image it to another disk before running repairs or recovery scans.
- Scan the clone/image, not the original, if the drive is old or unstable.
If it mounts but you get “permission denied” or see folders with red no-entry icons, that is a different problem from corruption. macOS permissions from the old user account can block you even though the files are fine. Don’t start changing ownership recursively on the old disk. Copy the data from an admin account, or use Terminal carefully to copy the folders to another drive. The destination drive should have plenty of free space and preferably be formatted for the Mac if you are copying lots of Mac files.
If Disk Utility shows the device but no readable volume, then recovery software makes sense after imaging. Disk Drill is fine to try for APFS or HFS+ scans, but treat it as a scanner, not a repair button. Save recovered files to a separate disk. If the scan finds files with generic names only, that usually means it is finding file signatures rather than the original folder structure, so don’t be surprised if the result is messy.
If the old drive came from a Mac with FileVault enabled, none of this bypasses the encryption. You need the password or recovery key. Without that, recovery apps will generally just see encrypted data.
The cheap annoying detail people forget is the adapter. Some USB-SATA adapters behave badly with older drives, large drives, or drives that are starting to fail. If the disk spins up and disappears, or shows a different size than expected, try a powered dock or a better enclosure before assuming the file system is gone. But if it clicks, grinds, repeatedly spins up and down, or takes forever to read small amounts of data, stop. That is where DIY attempts can turn a recoverable drive into a much worse job.
So the safest path is not “find the right format button.” It is: confirm whether it was Fusion Drive or encrypted, connect it to a Mac with the right hardware, avoid writes, make an image if the drive is visible, and only then scan or repair the copy.