My hard drive started showing bad sectors after a crash, and now some important files won’t open. I really need help finding a way to recover data from the drive without formatting it first, because I’m trying to avoid losing everything that’s still readable. Looking for safe data recovery steps or software that might work.
Stop touching the drive first
I learned this one the hard way. If a drive starts spitting CRC errors, freezing when you open folders, or hanging mid-read, stop. Don’t keep poking it. Don’t rerun tests. Don’t let the system keep chewing on it.
If it’s an external drive, unplug it. If it’s your internal system drive and it’s the one failing, shut the machine down.
The reason is simple. Every extra read attempt puts more stress on a drive that is already struggling. The OS might also start its own repair behavior in the background. I’ve seen a drive go from “some files won’t open” to “won’t mount at all” after too many retries. Small problem, then bigger problem. Fast.
What the damage usually looks like
From what I’ve seen, you’re often dealing with one of two things.
Soft bad sectors
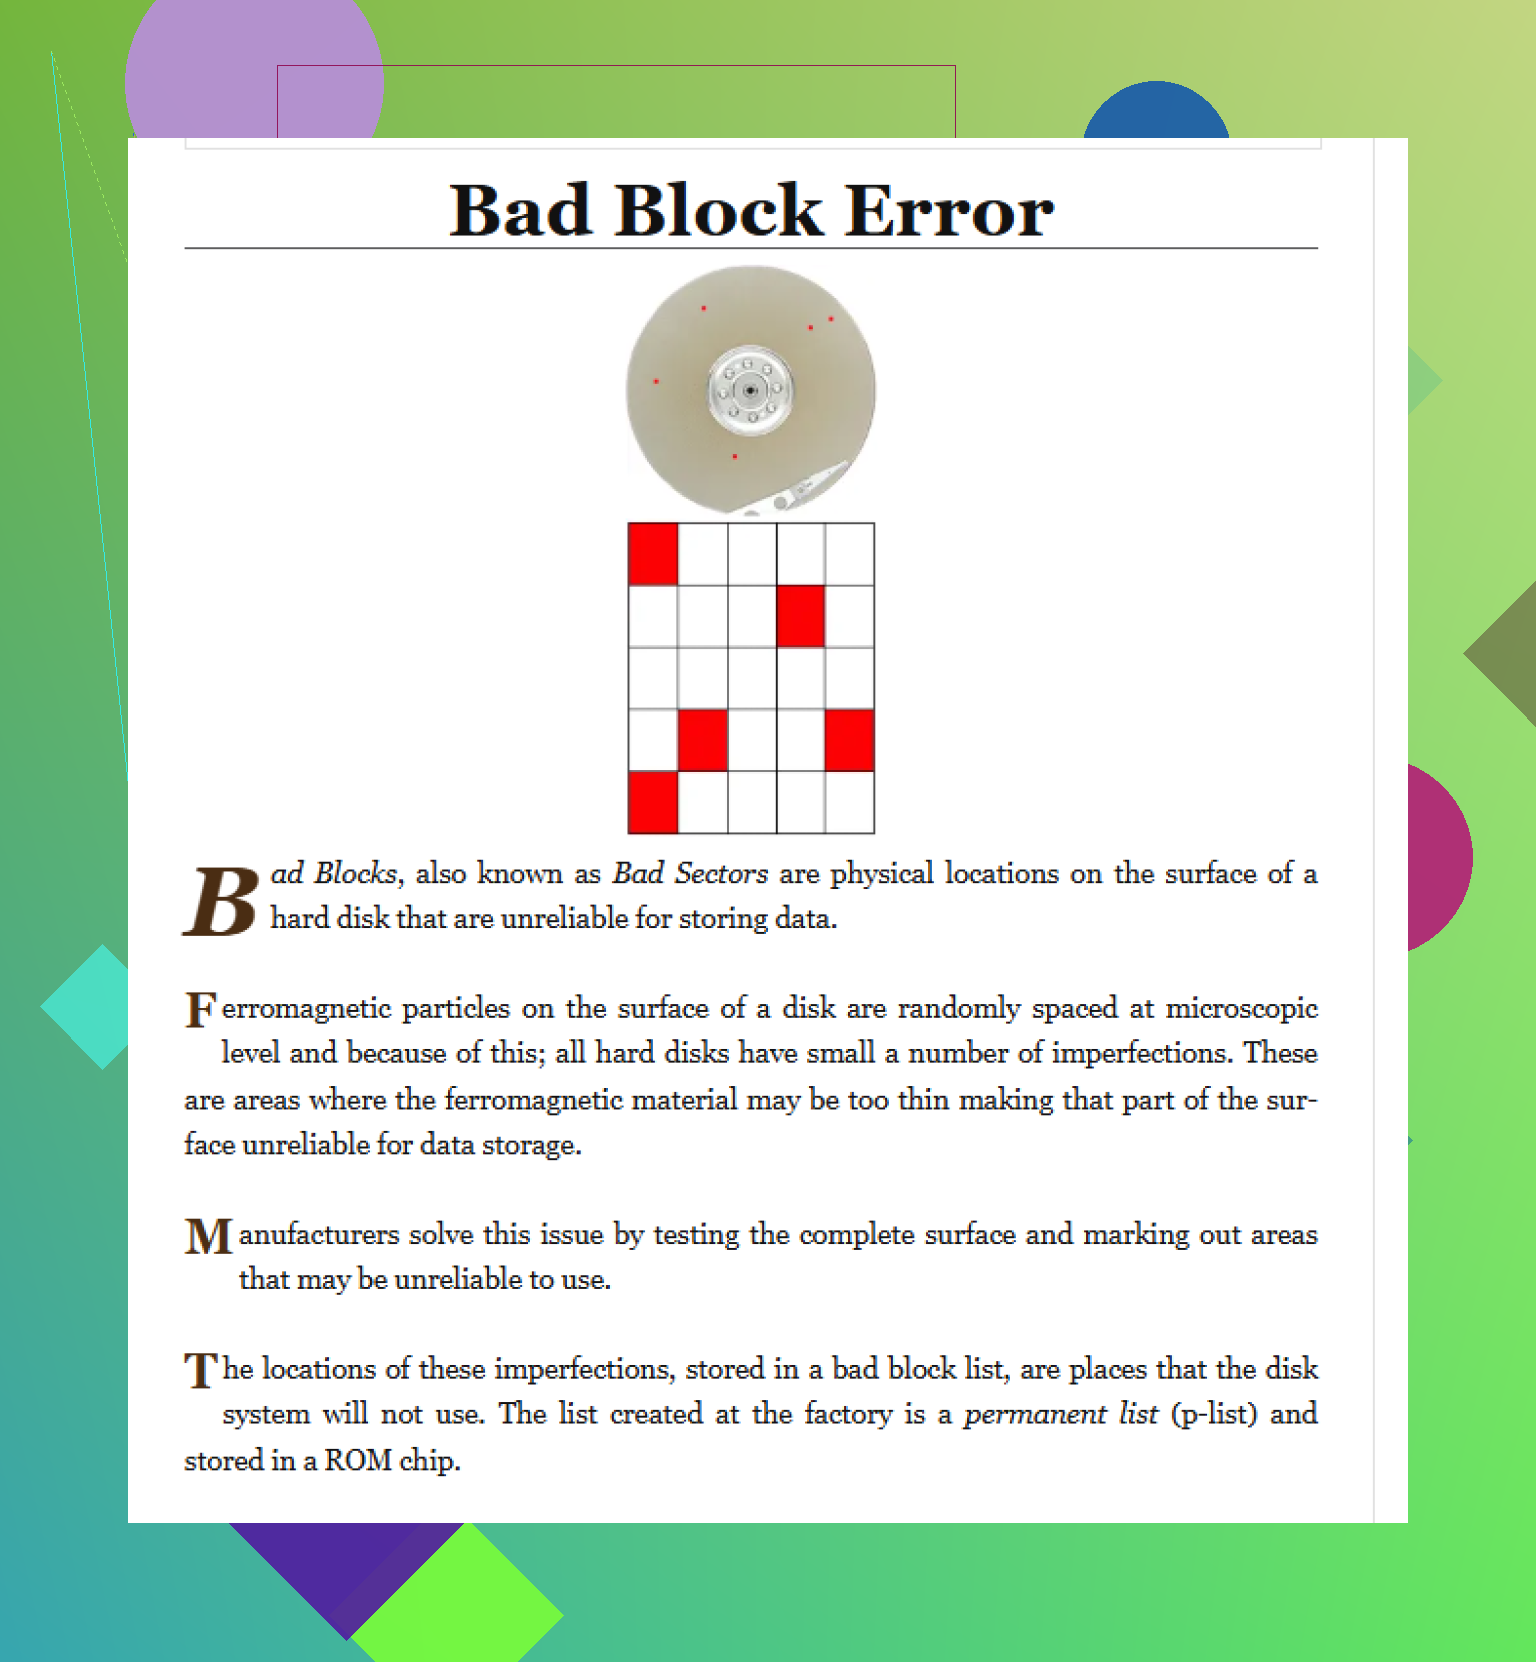
This is the less ugly version. It often shows up after a crash, power loss, or bad shutdown. The data in a sector no longer matches the drive’s correction info, even though the hardware itself might still be okay.
In plain English, the sector looks wrong, but the disk surface and heads aren’t always dead. Sometimes software is able to read around it or recover enough to rebuild things.
Hard bad sectors
This is the one software won’t fix. It points to physical failure, damaged media, weak heads, aging internals, stuff like that.
If the drive itself is breaking down, no utility is going to “repair” it in the normal sense. At best, software skips the bad spots and pulls out what still reads.
Why I would not start with CHKDSK
A lot of people jump straight to CHKDSK. I get why. It’s built in, it feels official, and it sometimes makes a broken file system mount again.
Still, for data recovery, it’s a rough first move.
CHKDSK is there to make the file system usable. It is not there to preserve every possible file. If it repairs damaged structures by cutting loose bad references, recovery later gets uglier. I’ve seen files vanish from the directory tree after a “repair,” even when chunks of their data were still on disk.
If the data matters, your first goal is not fixing the disk. Your first goal is copying the disk, sector by sector, onto something healthy.
Safer approach, clone first
What worked better for me was this:
- Get another healthy drive with enough free space.
- Make a full byte-for-byte image of the failing disk.
- Stop using the original.
- Run recovery work on the image or clone, not on the sick drive.
That matters more than people think. Once you have a duplicate, you’re not gambling with the original every time you scan, retry, or test something.
Software route for home recovery
If you’re doing this yourself, recovery software is usually the practical option.
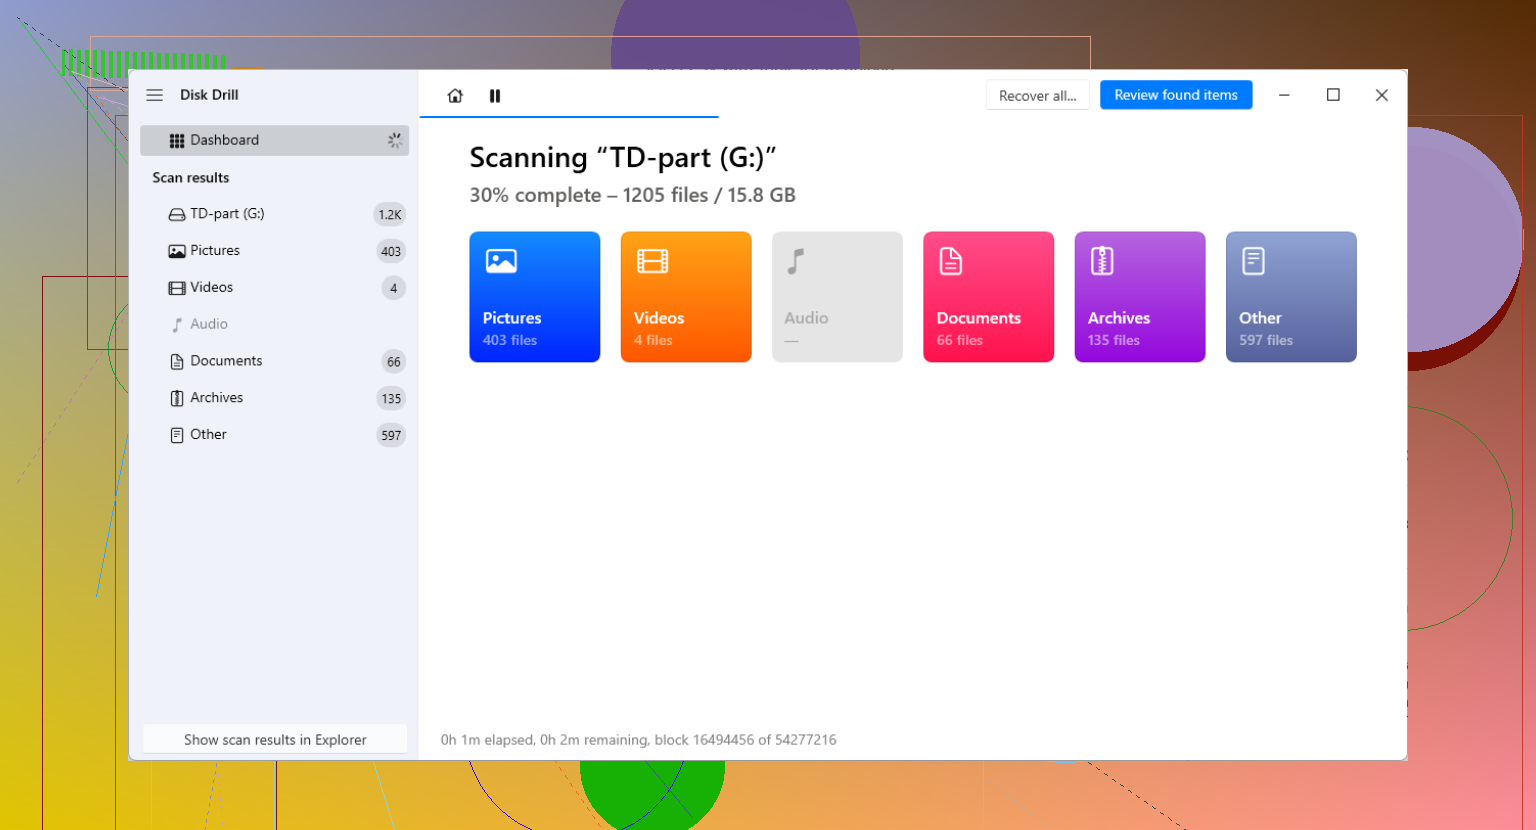
Disk Drill is one of the better-known options for this because it includes byte-to-byte backup tools, which helps when the source drive is unstable. The newer builds handle bad sectors better than older-style tools that stall forever on one unreadable patch.
What you want is software that does this:
- grabs the easy readable areas first
- skips over the ugly spots instead of choking on them
- comes back later and retries damaged regions in smaller chunks
That behavior reduces wasted stress on the failing drive. It also tends to pull more data before the hardware gets worse.
The workflow I’d follow
Keep it boring. Boring is good here.
Step 1
Prepare a healthy destination drive with enough free space for the image.
Step 2
Create a full disk image from the failing drive.
Step 3
Load or mount that image in your recovery software.
Step 4
Scan the image, not the original disk.
Step 5
Save recovered files to another safe location. Not back onto the damaged drive. Ever.
The failing disk should be powered only for the imaging part. After that, leave it alone.
When DIY starts getting dumb
Some failure signs mean stop messing with software.
If the drive is:
- clicking
- grinding
- beeping
- not spinning up
- not detected at all
then you’re no longer in normal software territory. That usually points to mechanical trouble.
At that point, trying random tools from forum posts gets risky fast. If the files matter, a recovery lab is the safer move.
Places like Gillware or Techchef handle this kind of work in controlled environments and use specialized hardware for unstable drives. They can swap failed parts when needed and pull data in ways home tools can’t.
The bad part is the price. It’s often somewhere around $500 to $3,000, depending on what failed and how bad it got. Painful, yeah. Still cheaper than losing something you can’t replace.
After recovery
Once your files are back and you’ve checked they open properly, then you can mess with the original drive if you want.
A full format or chkdsk /r might mark bad sectors so the system avoids them later. Fine. But I wouldn’t trust the drive again for anything important. A disk that starts throwing read errors has already told you what it is.
Use it for nothing important, or retire it.
The part people skip until it burns them
Backups.
The 3-2-1 rule is still the one I keep coming back to:
- 3 copies of your data
- 2 different storage types
- 1 copy off-site or in the cloud
It sounds like overkill right up until a drive starts freezing and your folder tree won’t open. Then it sounds cheap.
1 Like
Do not format it. Do not run a full surface scan first.
I agree with @mikeappsreviewer on one big point, stop hammering the drive. Where I differ a bit is this, if the drive still mounts and the bad spots seem limited, I’d try targeted file copies of the most important stuff before a full image. Large imaging jobs sometimes push a weak drive over the edge. Priority beats purity.
What I’d do.
-
Copy small irreplaceable files first.
Photos, docs, project files, databases.
Skip big videos and game folders for now. -
Use a copier built for read errors.
On Windows, Roadkil’s Unstoppable Copier or TeraCopy with error handling helps.
On Linux, ddrescue is still one of the best tools for bad sectors. -
If folders freeze Explorer, switch to recovery software.
Disk Drill is a solid option here because it can scan damaged drives and recover files without formatting first. Save output to a different drive, obviosuly. -
Do not run CHKDSK yet.
It fixes file system issues. It does not protect your data first. -
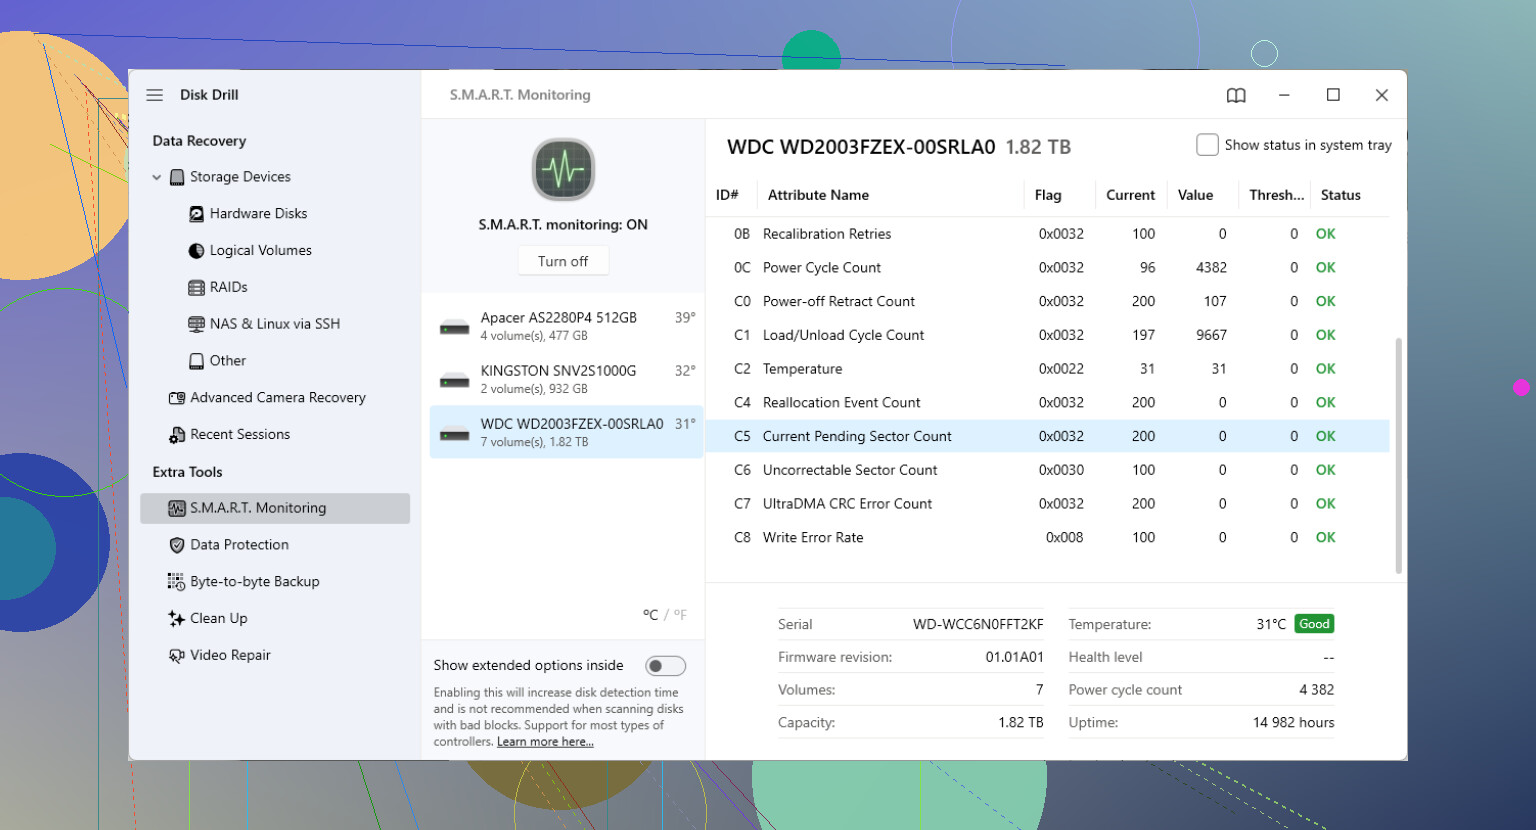
Watch SMART data.
If Reallocated Sectors, Pending Sectors, or CRC errors are climbing, stop DIY stuff fast.
Rough rule. If the drive clicks, drops offline, or speed falls to near 0 MB/s for long periods, software-only recovery starts getting shaky.
For background on bad sectors and how drives track them, this page is useful,
how hard drives manage bad block tables and sector errors
SEO-friendly version:
Recover data from a hard drive with bad sectors without formatting. Learn safe ways to copy files, scan damaged areas, and use recovery tools before the drive gets worse.
If the files matter a lot, recover first, repair later. The drive is alredy on borrowed time.
I’d split the problem into file system damage vs media damage, because after a crash those can overlap and people treat them like the same thing when they really are not.
@mikeappsreviewer is right about not “fixing” the drive first, and @shizuka is right that sometimes going after the most important small files before anything else is smarter than a giant all-at-once job. Where I slightly disagree is that people obsess over bad sectors and forget the connection path. If this is an external HDD, swap the USB cable, port, and enclosure if possible. A pile of “bad sector” or CRC-looking errors can come from a flaky bridge board too. Doesn’t always mean the platters are toast.
A few things I’d do that haven’t been said yet:
- Try reading the drive on another machine or OS. Linux live USB is useful because it sometimes handles sketchy disks more gracefully than Windows Explorer.
- Disable autoplay, indexing, and anything that keeps touching the disk in the background.
- If a specific folder hangs, don’t keep opening it in Explorer over and over. Use a recovery app that reads around damaged areas instead.
If the partition still appears, you can also test a read-only file system check first, not a repair. Just something that tells you how ugly it is without writing changes. The key word is read-only. Repair can wait.
For actual recovery, Disk Drill makes sense here because you can scan the damaged drive without formatting it and recover files to a different healthy disk. That’s the important part. Not back onto the same drive, obviously. If the file system metadata got scrambled in the crash, signature-based scanning can still find photos, docs, archives, etc, even when folders are half broken.
Also keep an eye on SMART in plain english: check SMART bad sector counts, pending sectors, and reallocated sector values before recovery gets worse. This is also worth a read if you want a sanity check on why SMART can say “fine” while your files say otherwise: when SMART says healthy but your data is already dying
One more thing people hate hearing: if the drive is slowing to a crawl, disappearing, or making even tiny weird noises, stop DIY sooner rather than later. That’s where people lose data by being “just one more scan” stubborn. Been there, regreted it.
One thing I’d add to what @shizuka, @viajeroceleste, and @mikeappsreviewer said: check whether the “bad sectors” are actually file copy failures caused by the interface. I slightly disagree with the idea that every minute should go straight into imaging. If this is an external drive, a dying USB-SATA bridge can mimic disk failure. Pull it from the enclosure if you can, connect it directly by SATA, or at least change cable and port first. That is a low-risk test.
Also, if the drive is still readable, avoid mounting it with anything that writes logs or thumbnails all over it. Booting from another OS or a live USB can reduce background writes and random retries.
For recovery software, Disk Drill is reasonable if you want to recover data from bad sectors without formatting the drive.
Pros of Disk Drill
- can scan damaged partitions without formatting
- good for previewing recoverable files
- easier than command-line tools
- can recover to another healthy drive
Cons of Disk Drill
- deep scans can take a long time on weak disks
- not magic if hardware failure is severe
- you still need enough space on another drive
- less ideal than pro hardware tools when the disk keeps disconnecting
My order would be:
- Stabilize connection
- Copy only the most valuable files or make a partial image of the safest areas
- Use Disk Drill on the clone or on the original only if the drive stays online
- Save everything elsewhere
If SMART stats are exploding or the drive vanishes mid-read, stop DIY. That is the point where labs win.