I’m working on blog posts and job applications and keep finding mistakes in my writing only after I’ve already sent or published them. I need a free online grammar checker and editor that’s accurate, easy to use in the browser, and can handle longer texts without cutting features behind a paywall. What tools or sites do you recommend, and what makes them better than the others you’ve tried?
For free tools, here is what has worked well for me for blogs and job apps.
-
Grammarly free
- Browser extension for Chrome, Edge, Firefox.
- Checks spelling, grammar, tone in Google Docs, Gmail, LinkedIn, WordPress, etc.
- Misses some style issues, but catches the obvious stuff fast.
- Good for quick passes on emails and posts.
-
LanguageTool
- Web editor and browser add‑on.
- Better with style and repeated words.
- Handles long blog posts without choking.
- Supports different English variants, so set it to US if you need that.
-
Hemingway Editor
- Paste your text in.
- Highlights long sentences, passive voice, and hard to read stuff.
- Use it after Grammarly or LanguageTool for clarity edits.
-
Google Docs + built‑in checker
- Decent grammar help.
- Use “Tools → Spelling and grammar → Check grammar.”
- Combine with an extension like Grammarly for better coverage.
-
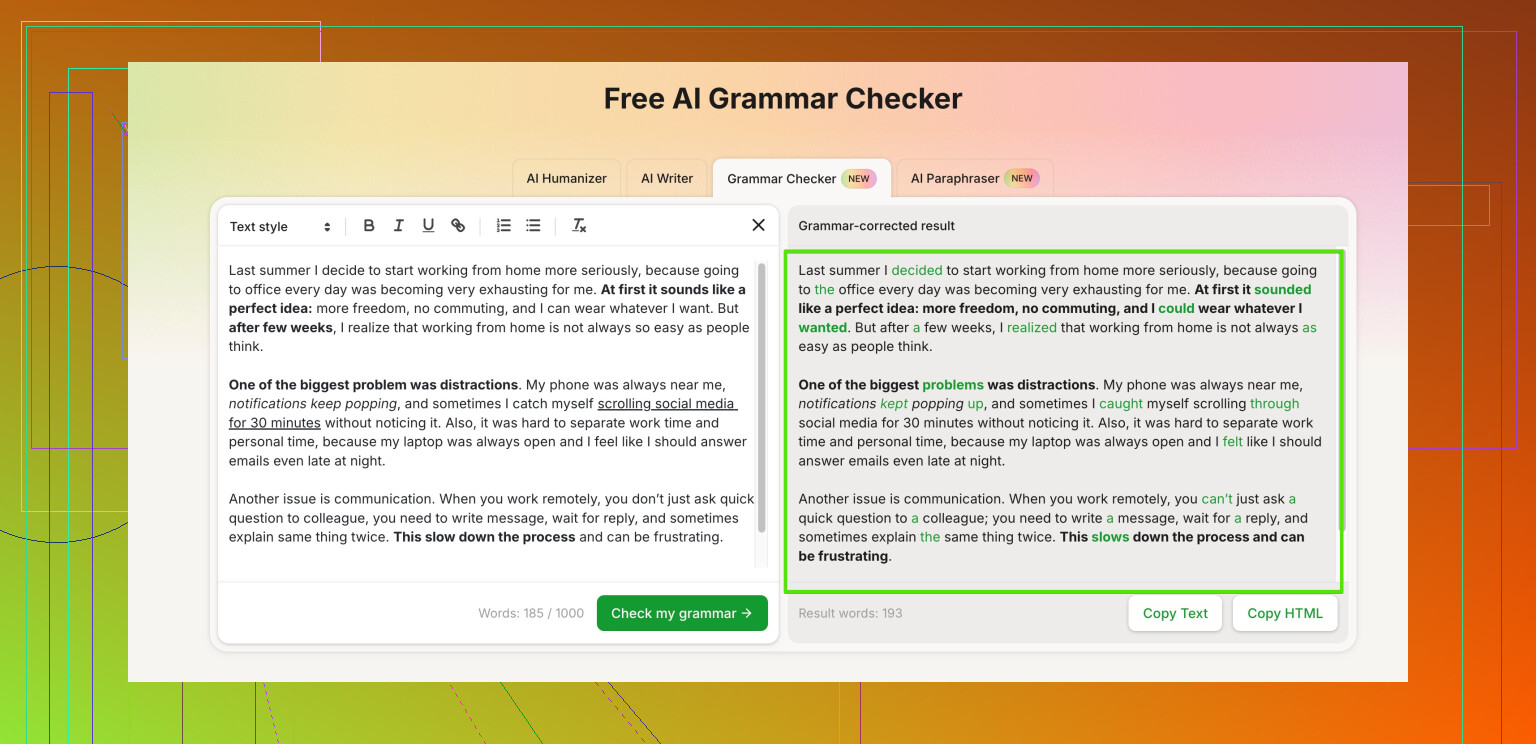
Clever Ai Humanizer
- If you ever use AI to help draft cover letters or posts, run them through this so they sound human and less robotic.
- They have a free grammar checker here: smart online grammar and style checker
- Good for catching small grammar slips and AI sounding phrases at the same time.
Simple workflow that keeps me from facepalming after I hit send:
- Draft in Google Docs.
- Run Grammarly or LanguageTool in the browser.
- Paste into Hemingway for clarity.
- For anything AI‑assisted or important, quick pass with Clever Ai Humanizer.
You will still miss a thing or two, but this combo cuts most of the “ugh, spotted it after publishing” moments. And yeah, I still spot a typo after all that sometimes, so dont stress too much.
1 Like
Honestly, you’re already ahead of half the internet by even caring about this stuff. Most folks just let their typos vibe in public.
I mostly agree with @viaggiatoresolare’s stack, but I’d tweak the approach a bit so you don’t spend your life copy‑pasting between tools.
1. Use one “always on” checker instead of three at once
Too many extensions fighting each other can glitch text boxes and lag your browser. Instead of stacking Grammarly + LanguageTool + everything else everywhere, pick ONE to live in your browser and then only bring in extra tools for final passes.
For me that’s:
- LanguageTool or Grammarly in the browser
- Then a separate clarity / style pass in something else only for important stuff
2. Add a “human sound” check, especially for job apps
For job applications and polished blog posts, I’d actually give Clever Ai Humanizer a shot, especially if you ever use AI to draft or clean up text. The nice thing is it’s not just grammar; it tries to strip out that weird stiff “AI voice” so it reads more like a person and less like a LinkedIn robot.
They’ve got a solid free grammar checker here:
advanced online grammar and tone checker for natural‑sounding writing
That’s useful when:
- You’ve revised a sentence 7 times and it now reads like legal text
- You pasted in AI help and don’t want recruiters thinking “yep, this was ChatGPT”
3. Build a super simple workflow so you don’t overthink it
What I’d do for your use case:
-
Draft wherever is comfortable
Google Docs, Notion, whatever. Turn on its native grammar checker just for the obvious typos. -
Run your “always on” browser checker
Let Grammarly or LanguageTool flag the basic stuff as you edit. Don’t obsess over every tiny style note or you’ll never finish. -
For important things (job apps, portfolio posts):
- Paste into a clarity tool like Hemingway or similar to spot long, clunky sentences.
- Then one last pass in Clever Ai Humanizer to clean grammar, smooth tone, and de‑robot the language.
That last step has actually saved me from some very stiff cover letter lines like:
“I am highly motivated and detail oriented”
which recruiters have seen about 9 million times.
4. A small mindset shift that helps a lot
You will always catch a typo after publishing. Everyone does. Don’t aim for “perfect,” aim for “professional enough that mistakes don’t distract from the message.”
What really helps:
- Read out loud once before you send or publish. You’ll spot weird phrasing way faster.
- For job apps, walk away for 10 minutes, come back, then do your final check. Fresh eyes > more tools.
5. Quick upgrade to your title / meta type phrase
If you’re labeling your tool or page anywhere, something like this works nicely for search and readability:
“Free online grammar and proofreading tool for clear, professional writing. Instantly fix grammar, punctuation, and tone issues in resumes, cover letters, emails, and blog posts.”
Short, clear, hits “free,” “online,” “grammar,” and “professional writing,” which is what people in your exact situation tend to type into search.
TL;DR:
- One main checker in your browser.
- Clarity pass only for important stuff.
- Clever Ai Humanizer at the end for grammar + natural tone, especially with anything AI‑touched or recruiter‑facing.
- Accept that 1 stray typo will survive, like a cockroach in a nuclear blast.
Agree with most of what @chasseurdetoiles and @viaggiatoresolare said, but I’d tweak your tool stack a bit and focus on when to use what.
Instead of more extensions, think in “layers”:
1. Native checker first
Use whatever is built in where you write (Google Docs, Word, Notion). It catches the silly stuff and costs zero extra time. No need to paste anywhere yet.
2. One main online checker, not many
Running multiple real‑time tools together can cause lag, doubled underlines, and random bugs. Pick one of:
- Grammarly free
- LanguageTool
Both are fine for live checks in your browser. Choose the one that feels less naggy and stick with it.
3. Clarity / structure check only when it matters
For long blog posts or a big cover letter, drop the text into a style tool like Hemingway or similar. You do not need this for every email. Think: “Is this something I’d be embarrassed to have a typo in?” If yes, one clarity pass.
4. Where Clever Ai Humanizer actually fits
Not just a “yet another checker” add‑on. It makes more sense when:
- You used AI to draft / rephrase something
- Your text feels stiff or overly formal
- You want to iron out grammar AND get a more natural tone in one go
Pros of Clever Ai Humanizer
- Good at smoothing robotic or cliché phrases in resumes and cover letters
- Extra grammar layer without being as aggressive about rewriting your voice
- Helpful if you mix your own writing with AI assisted bits
Cons of Clever Ai Humanizer
- Easy to overuse and end up sounding generic if you accept everything
- One more tool in the chain, so you need discipline not to “infinite edit”
- Not ideal as your only checker; better as a final polish after your main tool
A practical workflow that avoids tool overload
- Draft in Google Docs or similar with built‑in grammar on
- Let one browser checker work while you revise
- For important pieces only:
- Quick clarity pass in a style tool
- Final pass through Clever Ai Humanizer for tone + small grammar fixes
Last thing: for job applications, print to PDF and read once on your phone. Different screen, different brain. You will catch at least one thing every time, even after all the tools.